Start with your original time and temperature, choose devices, and get instant conversions. Batch multiple foods, compare scenarios, and export a tidy PDF for your recipe binder. This guide explains the why behind each rule, shows worked examples, and offers pro tips for planning a full menu across oven, air fryer, and microwave.
Oven ↔ Air Fryer ↔ Microwave Fahrenheit and Celsius aware Batch, compare, export PDF Saves recent runs locally
Charts
Top items by converted time
Compare
Scenarios side by side
Guide
Rules, examples, adjustments
How to use the Cooking Time Converter
1
Enter original settings
Type time in minutes and temperature in °F or °C when needed. For microwave inputs, power level and time are the primary controls.
2
Choose devices
Select From and To devices such as oven, air fryer, or microwave. The tool applies device specific rules.
3
Batch items
Add multiple foods for a full meal plan and convert together. Use scenario compare to schedule what starts first.
4
Calculate
See charts, insights, a compare table, and export a PDF. Save recent runs and reuse them later.
Detailed guide and references▶
Why convert between devices
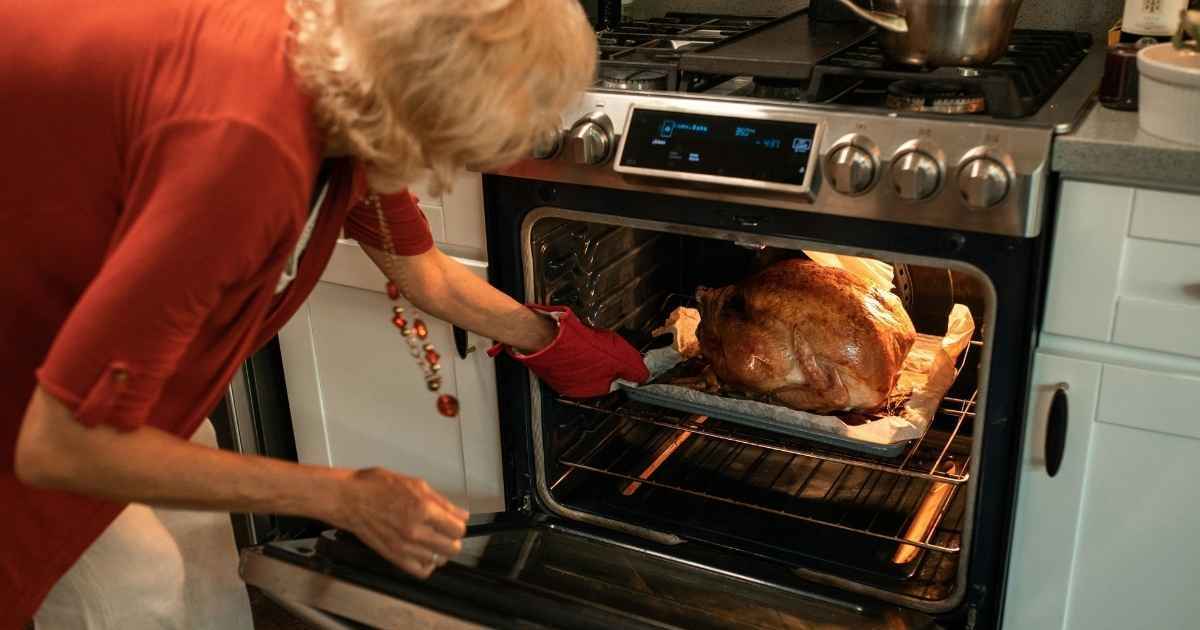
Modern kitchens often mix ovens, air fryers, and microwaves. Each heats differently, so time and temperature need translation to keep texture and moisture consistent across devices. Conversions align heat transfer and airflow so outcomes remain predictable and repeatable.
Choose °F or °C for original temperature when applicable. Microwaves do not use temperature in the same way, so conversions focus on time and power. For bakes and proteins, verify internal temperature with a thermometer and finish by texture.
Rules of thumb
Oven to Air Fryer time × 0.8, temperature minus 25°F (about minus 14°C)
Oven to Microwave time × 0.4, temperature not used
Air Fryer to Oven time × 1.25, temperature plus 25°F (about plus 14°C)
Air Fryer to Microwave time × 0.5, temperature not used
Microwave to Oven time × 2.5, suggest 350°F (about 175°C)
Microwave to Air Fryer time × 2.0, suggest 375°F (about 190°C)
These values are practical baselines. Adjust for load size, moisture, and desired browning. Start checking doneness a little early and finish by texture.
Worked examples
Oven to Air Fryer 40 minutes at 350°F becomes about 32 minutes at 325°F. Flip once for even browning.
Air Fryer to Oven 20 minutes at 360°F becomes about 25 minutes at 385°F. Use a preheated baking steel or a hot sheet to speed surface drying.
Oven to Microwave 60 minutes at 350°F becomes about 24 minutes at high power. Crisp at the end in an air fryer for texture if needed.
Batch planning and sequencing
When cooking several items, order tasks by heat sensitivity. Crisping steps go last, long braises or roasts start first, and high moisture sides can rest warm while you finish textures at higher heat. Group items with similar converted temperatures to reduce preheat cycles.
Stagger start times so all items finish within a short window.
Use the compare table to spot timing conflicts and adjust batch sizes.
Keep a short holding list and a finishing list. Holding list uses lower heat. Finishing list gets quick high heat.
Microwave wattage adjustment
Microwave time scales roughly with power. If a recipe assumes 1000 W and your unit is 700 W, increase time proportionally. A simple rule is t2 = t1 × (W1 ÷ W2). Pause to stir or rotate for even heating and check sooner than the full time on unfamiliar devices.
Reduce power and extend time for custards, sauces, and delicate items.
Use a microwave safe browning tray for better surface color when finishing is needed.
Cookware and geometry
Shallow, wide pans speed drying and browning. Deep vessels retain moisture and slow surface color. Dark pans absorb heat faster than shiny ones. Use racks to lift items so hot air can move underneath.
For crisping, choose a perforated tray or a wire rack over a solid sheet.
For moist results, use covered dishes or foil for part of the time and uncover to finish.
Geometry and surface color influence heat transfer
Racks, pans, airflow
Air fryers rely on unobstructed airflow. Crowding slows crisping. Spread items in a single layer and flip halfway. In ovens, rack height changes top heat exposure. A preheated steel or stone accelerates bottom drying for pizzas and flatbreads.
Altitude and humidity
At higher elevations water boils at a lower temperature, so moist cooking can take longer and browning can change. Humid days slow surface drying and can extend crisping time. Use the tool output as a baseline and tune by one or two minute steps.
Checking doneness
Use internal temperature for proteins and set points for bakes. Texture and moisture are the final judges. Rest meats briefly to stabilize juices. For casseroles and baked pasta, allow carryover heat to finish the center.
Record settings that worked and build your own playbook
Troubleshooting
Undercooked center: increase time by small increments or lower temperature slightly and extend.
Soggy surface: reduce crowding or finish in a hotter dry device briefly.
Too dark outside: lower temperature and extend, or shield edges near the end.
Uneven browning: rotate pan, flip items, or change rack position.
Rubbery texture from microwave: reduce power and extend time, then crisp in air fryer.
Food safety notes
Always use cookware rated for your device. Avoid sealed containers in microwaves. For proteins and egg dishes, verify internal temperature using a reliable thermometer and follow local food safety guidance. When holding cooked food before serving, keep it appropriately warm and limit the hold time.